|
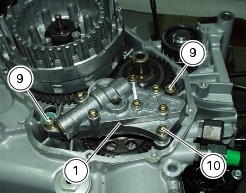
2
|
|
3
|
|
4
|
|
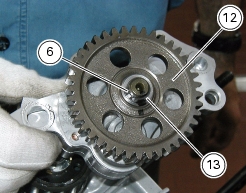
6
|
|
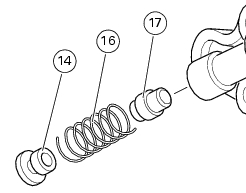
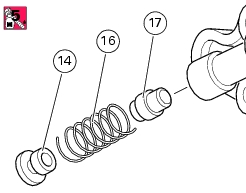
9
|
|
10
|
|
13
|

|
C
|
|
G
|
|
H
|
|
I
|
|
L
|